



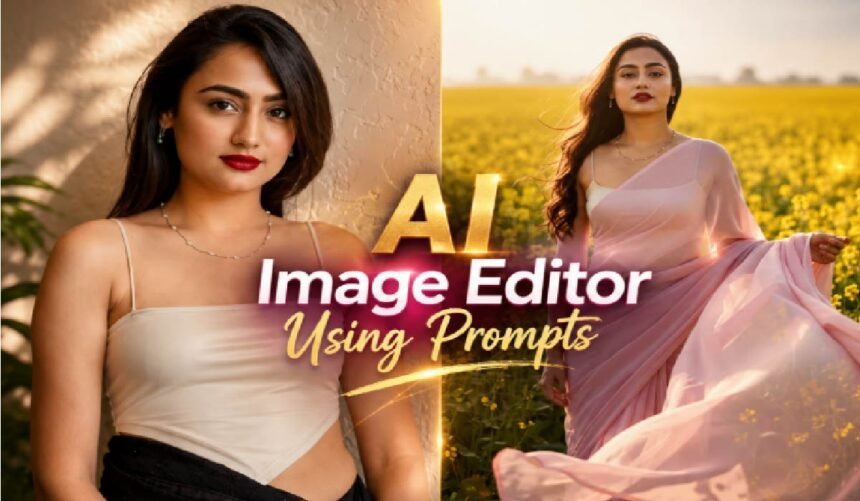
The way we edit photos has changed dramatically over the past couple of years. Instead of dragging sliders, learning layer masks, or spending hours in complicated software, anyone can now describe a change in plain language and watch it happen almost instantly. Want to swap a background, change an outfit’s color, or place your face into a meme? A short sentence is often all it takes.
This shift has made editing accessible to people who never considered themselves “creative types.” You don’t need a design degree, you need a clear idea and the right words to describe it. In this guide, we’ll break down how prompt-based editing actually works, walk through a practical workflow, and share tips that consistently produce better results.
What Is an AI Image Editor, and How Does the Technology Work?
An AI image editor is a tool that lets you modify a picture by typing instructions instead of manually manipulating pixels. You upload a photo, describe what you want changed, and the system interprets your words to apply that edit — removing an object, changing the lighting, extending the canvas, or restyling the whole scene.
Behind the scenes, these editors rely on large image-generation models trained to understand both visual content and language. Several well-known models currently power this space, including Gemini 2.5 (often called Nano Banana), Seedream 4, GPT-Image, Flux Kontext, and Runway Gen-4. Each has its own personality: some are better at precise, localized edits; others excel at handling multiple reference images at once; and some are known for preserving a consistent artistic style across edits.
Regardless of which model sits underneath, the basic workflow stays similar — upload an image, write a prompt, generate a result, then review and refine. What used to take an experienced editor hours in traditional software can now happen in a matter of seconds.
A Practical Workflow for Editing Photos with Text Prompts
Getting good results isn’t just about typing a request and hoping for the best. A more deliberate approach tends to pay off:
- Start with a quality image. Upload a clear photo in a common format like JPG, PNG, or WEBP. Sharper, well-lit source images almost always produce cleaner edits.
- Write a specific, descriptive prompt. Vague requests like “make it look better” rarely work well. Instead, describe exactly what you want — for example, “change the jacket to navy blue” or “add soft golden-hour lighting from the left.”
- Pick the right model for the job. If your platform supports multiple models, choose one suited to your task — some are stronger for realistic edits, others for stylized transformations.
- Generate and review. Most edits take just a few seconds. Look closely at details like lighting consistency, proportions, and edges.
- Refine as needed. If the first result isn’t quite right, adjust your wording, add more detail, or try a different phrasing rather than starting over completely.
- Export in the format you need. Choose the right file type, resolution, and quality setting for where the image will be used — social media, print, or a website.
Tips That Actually Improve Your Results
After experimenting with these tools extensively, a few habits consistently lead to better outcomes:
- Describe what you want, not what you don’t want. Positive, specific instructions work better than negative ones.
- Name a visual style directly — photorealistic, illustrated, cartoon, cinematic — so the AI has a clear target.
- Mention color palette and mood. Even a phrase like “warm, cozy tones” can shift the result meaningfully.
- Break complex edits into weighted parts of your prompt, adjusting emphasis on different elements until the balance feels right.
- Upscale low-quality originals first. Running a photo through an image enhancer before editing often improves the final output significantly, especially for expansion or upscaling tasks.
For professional use cases — product photography, portraits, marketing material — photorealistic styles tend to perform best. For social content or creative mockups, illustrated or stylized looks often stand out more.
Portrait touch-ups are one of the most common everyday uses too. Simple, specific prompts can handle things like smoothing skin tone, adjusting jawline shadows, or asking the tool to remove double chin from photo for a cleaner headshot — all without the manual retouching that used to take real editing skill.
Creative Possibilities Beyond Basic Editing
Prompt-based tools aren’t limited to simple touch-ups. Two features in particular have become especially popular:
- Face swapping lets you place your own face — or someone else’s, with appropriate permission — into a different photo, meme template, or illustration. What once required real Photoshop skill can now be done in a couple of clicks, making it a favorite for quick, personalized social media content.
- Image expansion (sometimes called “uncropping”) extends a photo beyond its original edges. Rather than stretching or duplicating pixels, the AI intelligently fills in new areas so lighting, shadows, and perspective stay believable. This is especially useful when resizing product photos for different platforms or making space for text overlays.
Final Thoughts
Prompt-based image editing has lowered the barrier between having an idea and actually producing it. You no longer need years of software training to remove a distracting object, swap a background, or reimagine a photo’s entire style — just a clear description and a bit of patience to refine your wording. As these tools continue to improve, the gap between imagination and finished visual keeps shrinking, and experimenting with different prompts and models is still the fastest way to learn what works best for your own projects.