


You click a photo expecting a memory, but instead it freezes, refuses to load, or shows a blank grey screen. Then the panic hits: Is the image gone forever? Whether you’re facing minor glitches or a badly damaged file, this guide shows exactly how to repair photo issues using simple methods anyone can try.
We’ll walk through fast fixes and introduce the recommended software designed to reliably repair corrupted photos when nothing else works.
Quick checklist — Should you try this first?
Before diving into deeper repairs, run this quick checklist to rule out easy issues:
- Try opening the photo in a web browser like Chrome, Edge, or Firefox. Browsers can bypass minor rendering problems.
- Try another photo viewer such as Windows Photos or Preview on macOS.
- Copy the file to another folder, USB drive, or cloud storage; sometimes file-path or permission issues cause errors.
- Check the file size; 0 KB usually means the photo is unrecoverable without advanced tools.
- Check the file extension .jpg, .jpeg, .png, and .raw. If quick viewers can’t open it, move to the repair photo methods below.
Tip: Never overwrite your original file. Always work on a copy during repair attempts.
Fast manual fixes (Open & Convert)
Sometimes a corrupted image won’t open simply because the viewer can’t interpret its metadata or header. These quick steps can work surprisingly well. Use them before trying deeper steps to repair photo.
1. Open the photo in a web browser or Microsoft Paint
Browsers and basic editors often ignore minor header issues that advanced software rejects.
- Right-click the photo and choose “Open With.”
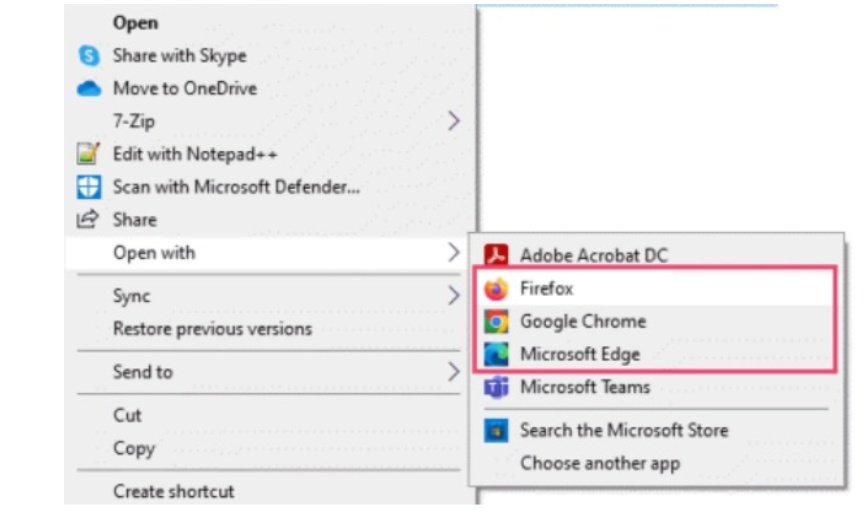
- Choose Chrome, Edge, or any other browser.
If it opens, immediately export or re-save it.
2. Change the file extension
Switching between formats forces the system to rewrite header information. You can try the following changes, and here are the steps to follow:
- .jpeg > .jpg
- .jpg > .png
- .png > .jpg
Steps:
- Right-click the image file and select “Rename.”
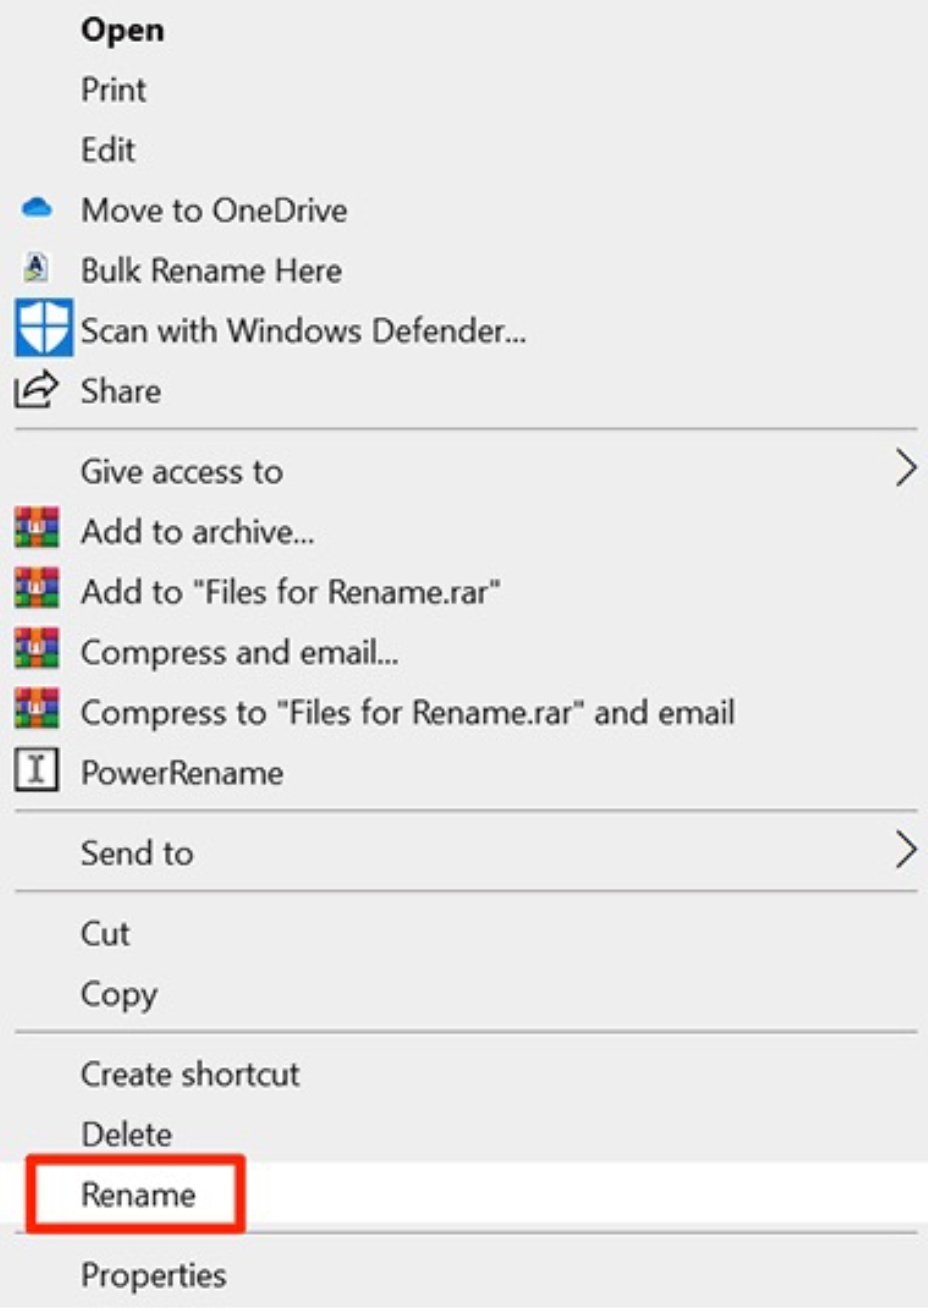
- Now, erase the original extension and type the new one. Click “Yes” if a pop-up appears to confirm. Then try opening it again.
3. Try heavy-duty viewers (Photoshop, GIMP)
Photo editors sometimes open partially corrupted files by skipping broken metadata.
- Open your tool and use the “Open” option in the “File” menu to open the image.
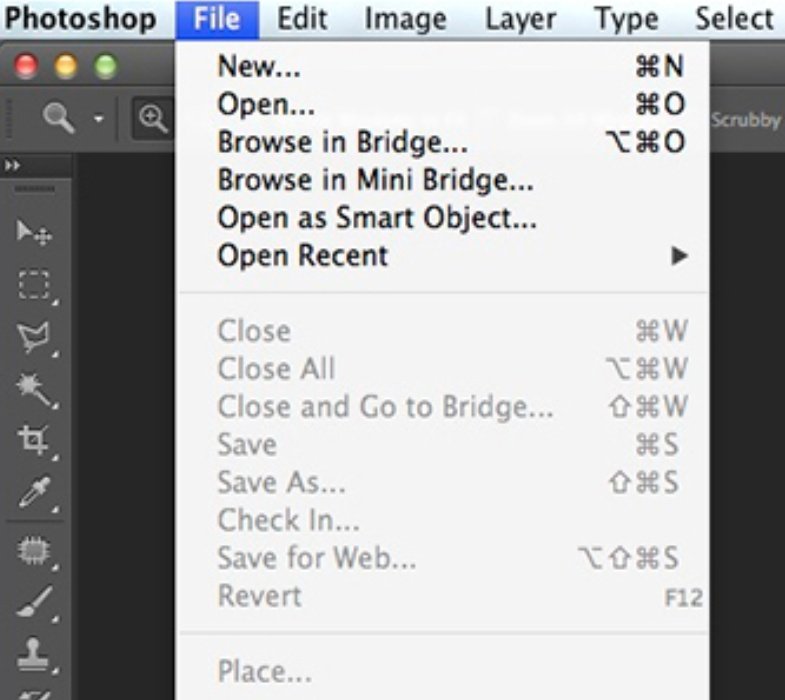
- If the image loads, use “Export/Save As” and save it with a new name to generate a clean file.
Free tools like GIMP or ImageMagick can help, but they are manual and typically fail on severe corruption.
When storage problems are the cause: quick diagnostic
Sometimes the issue isn’t the photo — it’s the drive. Corruption caused by unstable storage often affects multiple images at once.
Signs:
- Files open sometimes and fail other times
- Slow read/write speed
- Clicking sounds from the HDD
- Photos copied from SD cards show partial grey areas
Diagnostics to try:
- Copy the photo to another computer or drive.
- Run CHKDSK (Windows) or Disk Utility (Mac) to scan for errors.
Fixing the disk increases the chances you can repair photo successfully.
Warning: If you suspect drive failure, stop using it immediately to prevent additional data loss.
Advanced manual option: header/sample merge (HEX method)
If only the header of a JPEG is corrupted, the image data may still be intact. Tools like JPEG-Repair or hex editors let advanced users copy a working header from a similar image and merge it with the damaged file.
This works when:
- Only the JPEG header is broken
- You have a “sample” image from the same camera
- You’re comfortable editing binary data
This is one of the more technical ways to repair photo, and mistakes can easily make the damage worse. Always keep backups before attempting HEX-based edits.
Best practice: recommended software (primary solution)
When manual fixes fail to repair photo, 4DDiG Photo Repair provides the most reliable, user-friendly way to repair corrupted images, especially in cases where the corrupted image won’t open, appears pixelated, shows grey or black areas, or has severe JPG repair issues like header or frame corruption.
Unlike free tools that only handle light damage, this software supports deep image file repair, including RAW formats from major cameras. It can restore texture, fix corrupted frames, reduce noise, sharpen blurry areas, and rebuild missing data using AI-based reconstruction.
It also creates new output files rather than overwriting originals, so your damaged image is always safe.
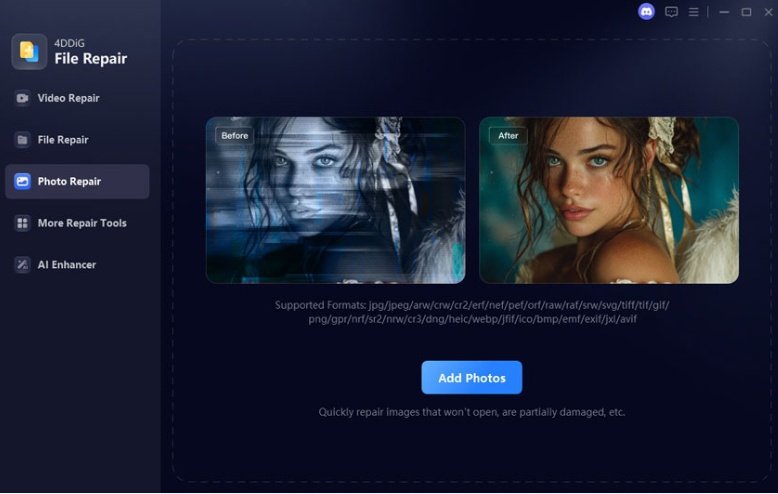
How to use it?
Below are the steps you need to follow.
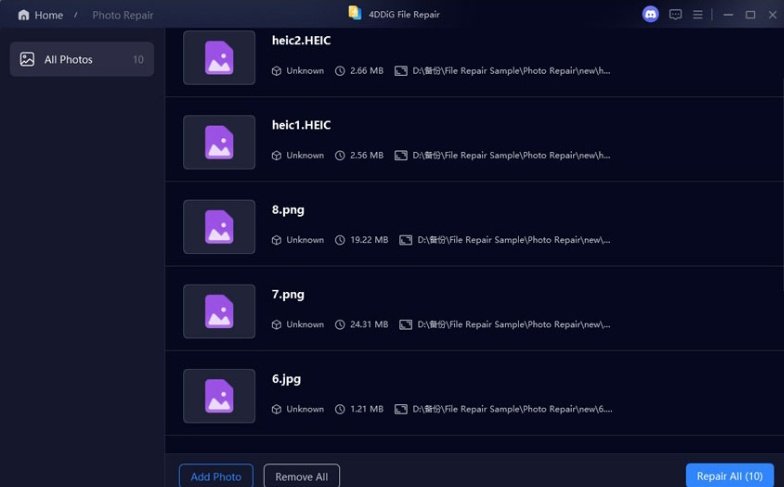
- Open the 4DDiG File Repair tool and click the “Photo Repair” option, then click the “Add Photos” button to add the images that you want to repair.
2. Click “Repair All” to begin repairing images using AI’s power.
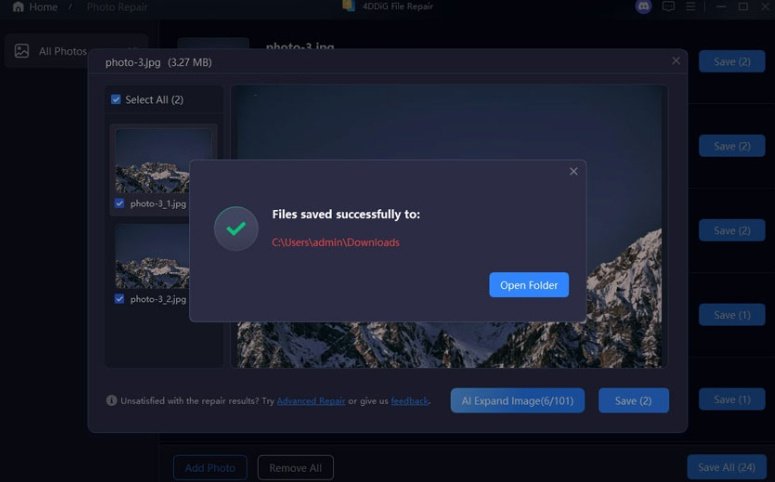
3.After the images are repaired, click the “Preview” button to check the results and ensure that your image is repaired.

4. Click “Save” at the bottom and choose the location where you want to save the repaired photo.
Try the recommended repair tool for reliable, fast, beginner-friendly results. While the free tools may work for mild cases, they are manual and slow most of the time, and fail when it comes to deep corruption.
Hence, this is the simplest way to repair photo problems without manual effort.
Free & open options (when to try them)
You can try free tools first; they work for minor issues but are limited:
- GIMP: May open partially corrupted photos; manual adjustments required
- ImageMagick: Good for format conversion; not ideal for heavy corruption
- JPEG Repair Shop: Can fix mild header issues
- Online photo repair sites: Convenient but risky for private images
These tools cannot reliably handle serious damage, lack batch features, and often struggle with RAW files. When free methods fail to repair photo, switch to the recommended local software for safety and higher success rates.
Prevention checklist (quick tips)
Follow the prevention tips below to save your image and time in the future:
- Keep multiple backups of your important photos.
- Always safely eject SD cards and USB drives.
- Avoid sudden power loss during transfers.
- Don’t repeatedly re-save JPEGs; each save reduces quality.
- After copying photos, verify the files before deleting the originals.
Cloud storage or automated backup tools can greatly improve long-term photo recovery success.
FAQ
1. My photo shows grey or blank areas — can this be fixed?
Often, yes. Try a different viewer or format conversion first. If that fails, the recommended software can usually rebuild corrupted frames.
2. Is it safe to upload photos to online repair tools?
Not always. For sensitive or private images, avoid uploading them online. Use local repair tools for privacy.
3. What if nothing works at all?
If all repair attempts fail, consult a professional recovery service, but keep your original files untouched. The recommended software is still the next best step before professional help.
Conclusion
Most broken or unreadable photos aren’t lost forever; with the right approach, many can be repaired. Start with quick manual checks, try conversions, diagnose storage issues, and when those fail, rely on the recommended software to recover even heavily corrupted images.
For a simple, safe, and reliable solution, consider using the recommended repair tool to tackle tough cases involving photo recovery or deep corruption.