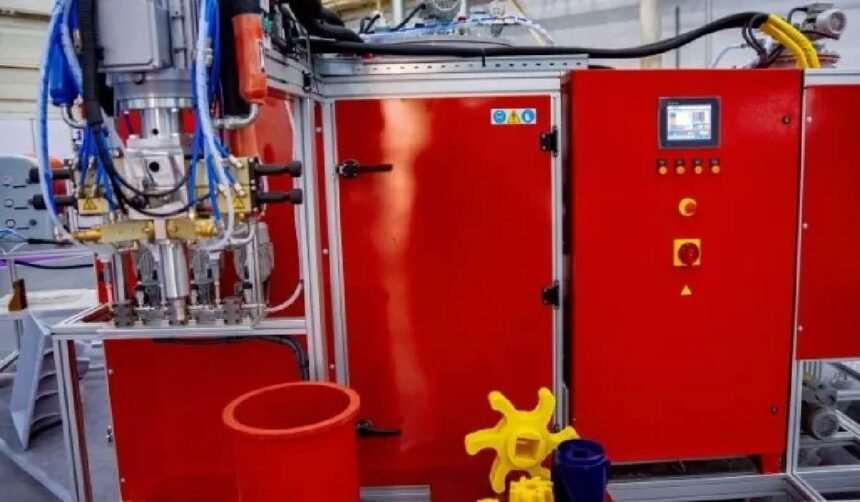
Manufacturers depend on precision and consistency when shaping silicone parts for medical, automotive, and consumer industries. Choosing the right molding process ensures accuracy while keeping production efficient and reliable. For teams aiming to streamline their operations, adopting a proven step-based method makes a significant difference.
A specialized technique has emerged as the preferred choice for achieving consistent results. The Liquid Silicone Rubber Injection Molding process follows a structured sequence that transforms raw liquid silicone into durable, high-quality components. Each stage is designed to ensure uniform results, from preparing the compounds to post-production finishing. The following guide breaks down the entire procedure step by step.
Step 1: Preparing the Silicone Compounds
The process begins with two liquid components stored in separate containers. Compound A serves as the base-forming material, while Compound B acts as the catalyst. Both materials are engineered to combine at a constant one-to-one ratio.
The containers connect directly to the pumping system, ensuring that each part is ready for accurate delivery. This preparation sets the foundation for reliable production runs. The stability of this setup prevents errors during later stages. An organized supply system reduces delays and supports smooth operation.
Step 2: Mixing and Pigmenting
Once released, the two compounds move through a static mixer powered by a platinum cure system. This system guarantees a uniform blend of base and catalyst. At this stage, manufacturers may introduce pigmentation additives for specific color requirements.
The blended mixture exits the mixer fully balanced and prepared for injection. Precision during mixing eliminates inconsistencies in the finished product. Careful pigment control ensures a consistent appearance across every batch. Accurate blending also improves long-term durability of molded parts.
Step 3: Programming the Injection Machine
The molding machine operator configures the system before production begins. Shot size, temperature, injection rate, and pressure are programmed according to design specifications. Automation allows these parameters to remain consistent across each cycle.
Platens and pistons align and close the mold with exact timing. Proper machine setup ensures every shot meets strict quality standards. Thorough calibration reduces downtime and waste. Well-maintained programming increases reliability throughout the production line. Accurate settings also extend the lifespan of critical machine components.
Step 4: Heating and Clamping the Mold
After programming, the machine heats the mold to the required temperature. The system then applies the correct clamping force to secure the tool in place. With the mold closed, the injector, pump, and supply components work in synchronization. This coordination allows the silicone mixture to be forced into the mold cavities.
Strong mold clamping prevents leaks and supports precise part formation. Temperature stability enhances dimensional accuracy during production. Secure clamping protects the mold from excessive wear. Effective pressure control ensures consistent results across multiple cycles.
Step 5: Injecting the Silicone Material
Once aligned, the mixture flows into the mold through a runner and gate system. This carefully designed pathway controls material delivery into every cavity. Uniform filling prevents voids or weak spots in the molded part. Controlled flow ensures repeatability across large production volumes.
The injection unit monitors pressure to maintain balance throughout the process. Smooth injection is critical to achieving components with consistent quality. Balanced flow ensures strength in each molded part. Controlled injection also reduces material waste during production.
Step 6: Curing and Releasing the Parts
Inside the mold, heat and pressure cure the silicone material until it solidifies. When curing completes, the mold opens automatically or manually, depending on the setup. The finished parts, along with any flashing, are removed from the cavities.
The mold is immediately ready for reuse, supporting continuous cycles. This curing step transforms liquid silicone into strong, finished rubber parts. Consistent curing prevents structural flaws in the product. Reliable release methods protect delicate features of molded parts.
Step 7: Post-Molding Finishing and Quality Checks
After removal, the parts may require secondary processing. De-flashing eliminates excess material, while post-curing strengthens the product further. Every part undergoes inspection to confirm dimensional accuracy and surface quality.
Once approved, products are packaged and prepared for shipment. This final stage ensures that only fully tested items reach end users. Rigorous checks safeguard brand reputation and customer trust. Consistent finishing maintains customer satisfaction and compliance with standards. Detailed documentation of each batch supports traceability and accountability.
Following a structured production method delivers accuracy and consistency across every stage of silicone molding. From mixing the compounds to final inspection, each step contributes to the durability and reliability of the end product. Companies that invest in this approach benefit from efficiency, reduced waste, and reliable results. To achieve the highest standards in manufacturing, it is worth considering Liquid Silicone Rubber Injection Molding for future projects. Ensure your production process meets market demands with a proven step-by-step method.


